LT 1.1 Product photography basics
Draw up a list of the most important aspects of a product photograph. Refer to shadows, lighting, quality, ISO, and editing in your answer. Mention at least five things. You are welcome to include visual examples of discussion points.
- The right equipment. Lighting, camera, lens, product setup, the product…
2. Have an ISO value of 100 or less. It is important to maintain the highest quality when photographing a product. With a higher ISO, you can get some noise in your pictures that is not desirable.
3. Focus. Be in focus!
4. Shadows. Have little to no shadows. If there is a shadow, it should have soft edges. A softbox is perfect for product photography as it creates soft, diffuse light that reduces harsh shadows.
5. Composition and styling your product. The product should be the main character in your pictures.
6. Editing. Where the magic happens. Here you can perfect the picture and correct, white balance, color adjustments, spot healing to remove small distractions, fix highlights, shadows, and exposure, and much much more. But with that said you should always try your best to take great pictures that need little to no editing. So rather stop and take away distractions when you notice them than think you just edit them out in photoshop later on. This saves you a lot of time and you keep a much higher quality of pictures.
LT 1.2 Mastering the art of product photography
- Make your own DIY light tent.
2. Take product photographs of the following objects:
Something fluffy, like a stuffed animal.
Something shiny, like a knife and fork.
Something hard, like a book or a mug.
A liquid, like a glass of wine.
3. Draw a diagram of your lighting scenario for each of the above photographs and submit it along with the pictures.
4. Edit your photographs with the software of your choice. Write an accompanying paragraph for each of your pictures and explain what you did during the editing process.
This was a really fun lesson task! It was so much harder than I imagined it would be especially with the shiny objects. I had already invested in a light tent, so I didn’t make my own for this assignment. Here you can see my work station/set up on my kitchen table:
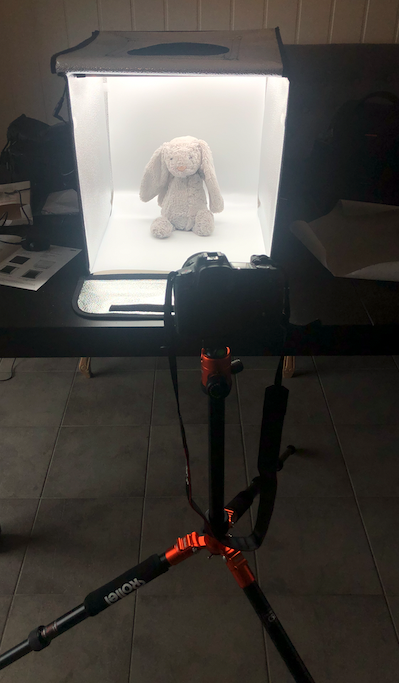
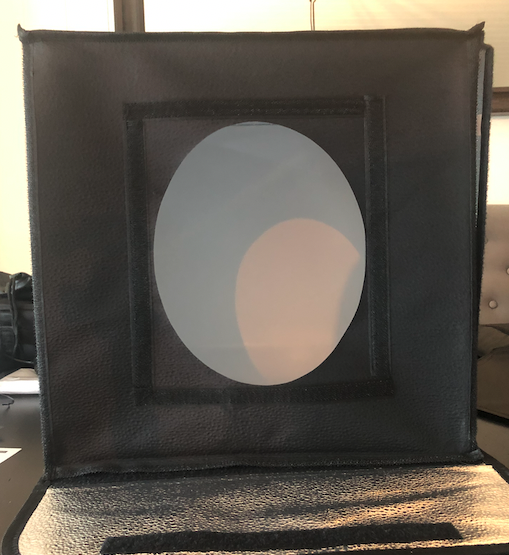
I only used two led lights at the top of the box and there are reflectors on each side of the walls to reflect the light on the sides, top, and front if you need. For some of the pictures, I had the front wall closed with a little hole for the camera when I needed some extra light in the front to blow out some of the shadows in the front. I had the front down on my liquid picture and an open front on the other pictures. Also, you could dim the lights to get the desired light that you needed. (3.) See the pictures above.
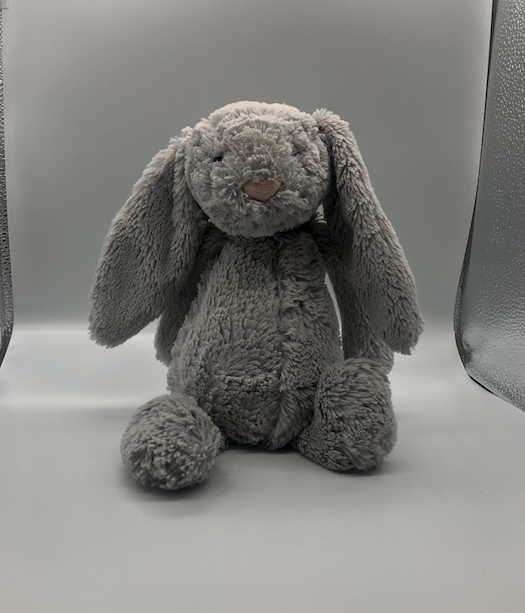
A stuffed animal:
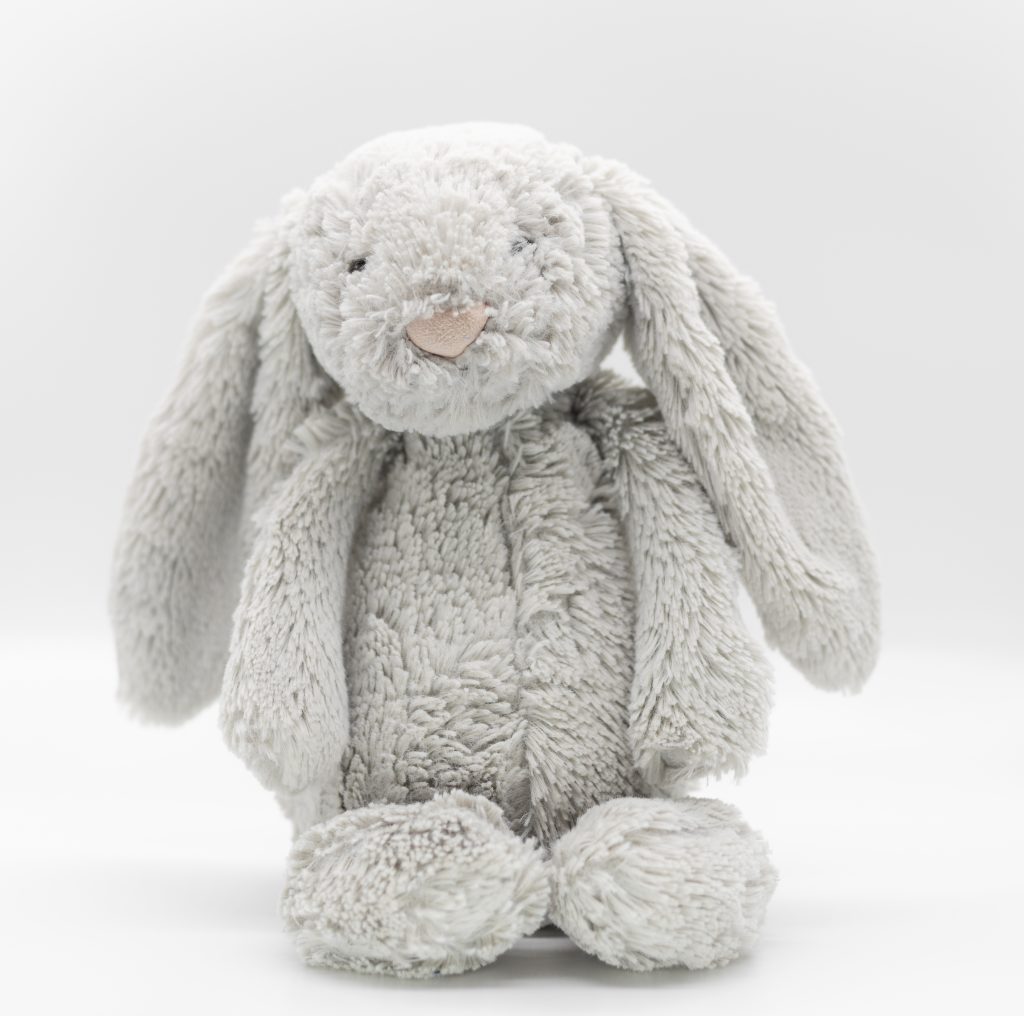
ISO 100 I 50mm I f/2.8 I 1/250sec
This was the first set of pictures I took. So here I should have used a higher aperture so the whole rabbit would have been in focus. He is a little bit too bright at the top of his head also, but he was a bit big in the tent so he came close to the led lights. I tried to put a baking sheet of paper over the lights but I couldn’t find any tape to hold it and holding it by hand just created unwanted shadows.
For the editing process, I just cropped the picture and adjusted a bit on the exposure, highlights, shadows, and whites.
Something shiny:
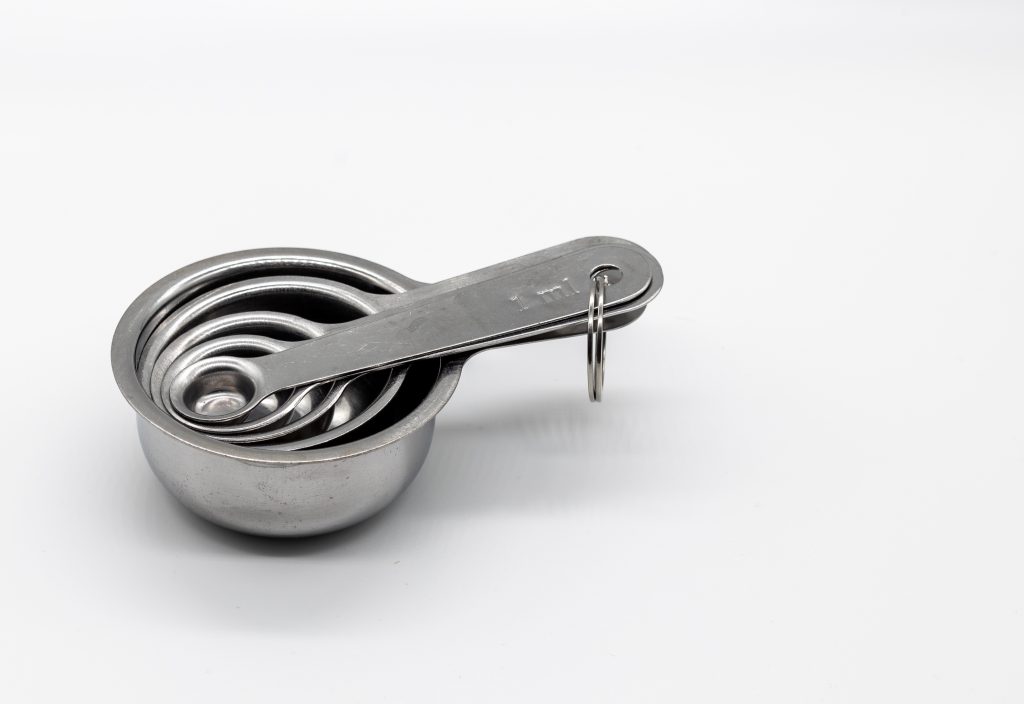
ISO 100 I 50mm I f/8.0 I 1/50sec
This was a super tricky one. To find the right angle so it would look a bit interesting without it shining too much, losing its silver color, or getting too many shadows. It still has a bit of shadow but they are very soft and I choose to keep them in order to get as much of the silver (correct) color as I could.
For the editing process, I just cropped the picture a bit, and then I adjusted a bit on the exposure, contrast, highlights, shadows, and blacks.
Something hard:
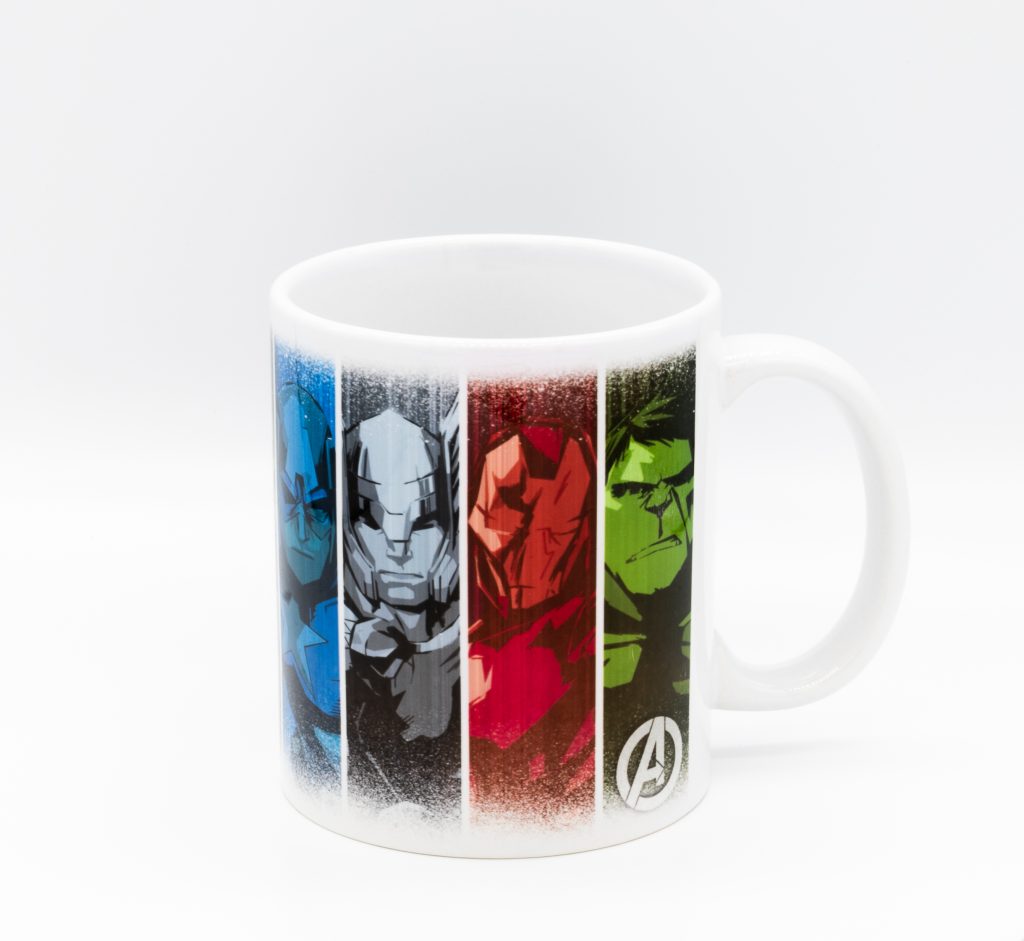
ISO 100 I 50mm I f/18 I 1/13sec
For this picture, I tried a white mug with a colorful set of action heroes on it. I was a little bit skeptical of how it would turn out with white on white. I think it turned out great for my first try.
For the editing process, I started by cropping the picture and then I adjusted a bit on the exposure, contrast, highlights, shadows, whites, and blacks.
A liquid:
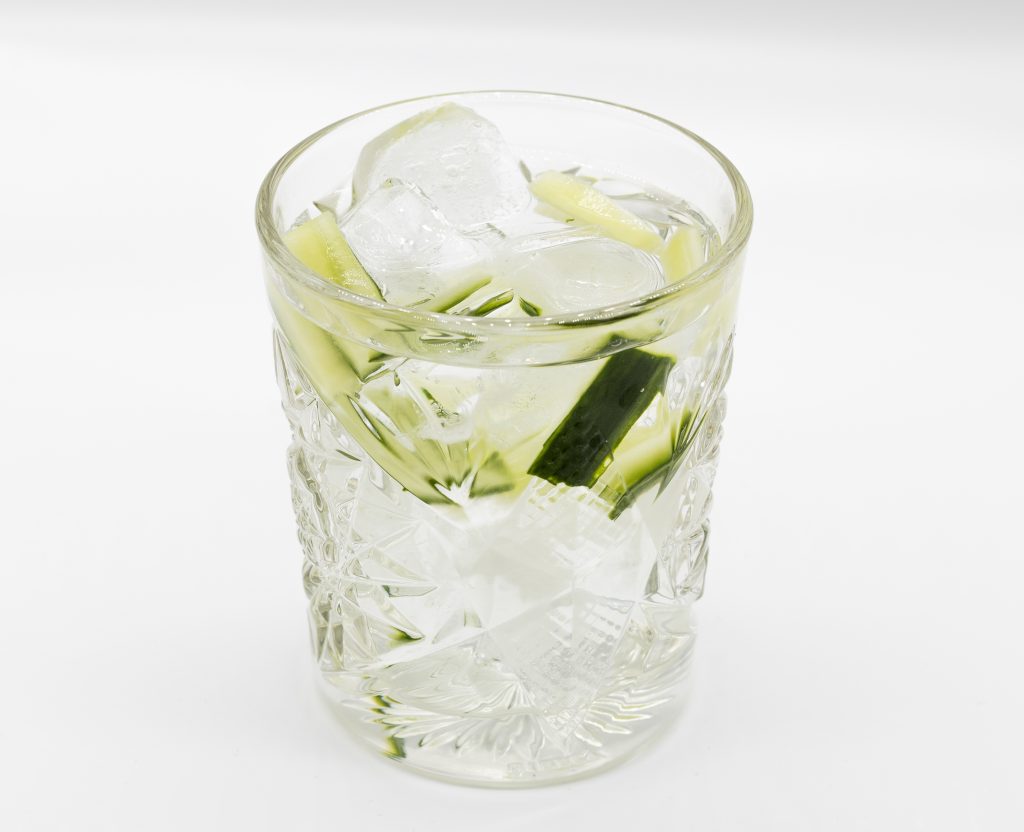
ISO 100 I 50mm I f/8.0 I 1/50
For this picture, I chose a textured glass of water with some ice cubes and fresh cucumber.
For the editing process, I started by cropping the picture and then I adjusted a bit on the exposure, contrast, highlights, shadows, whites, and blacks.
Hope you like it!